Adding Members to a Role
Roles control what users can see and do in WizyVision. Once a role is set up with the right privileges, you can add users to it — either existing users in your workspace or brand-new users you invite on the spot.
This guide walks you through adding members to a role from the Admin console.
Before you start
You need admin access to Access Control in your workspace.
The role must already exist. If you haven't created it yet, create the role first, then come back to add members.
Step 1 — Open the role
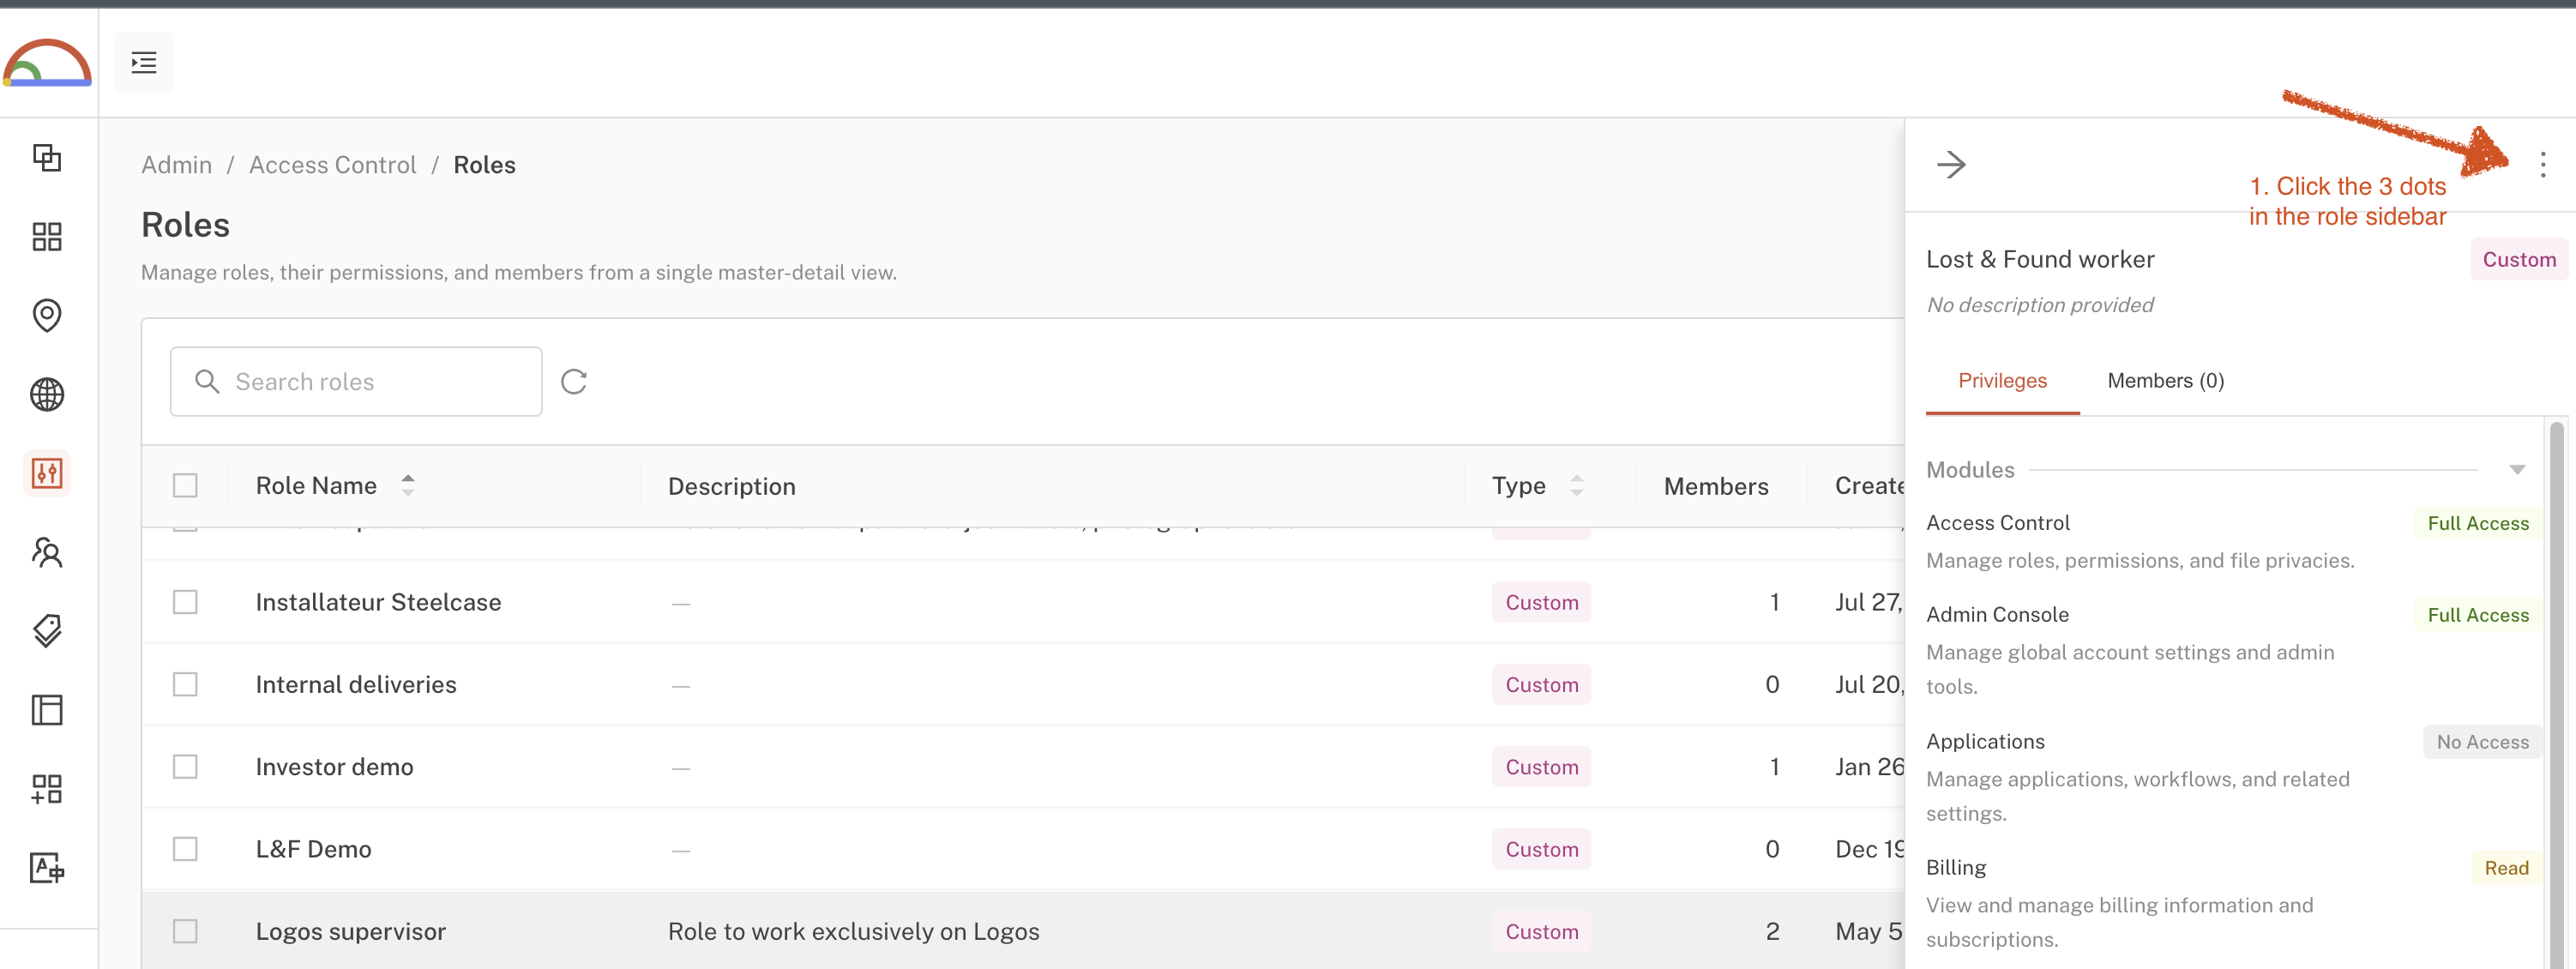
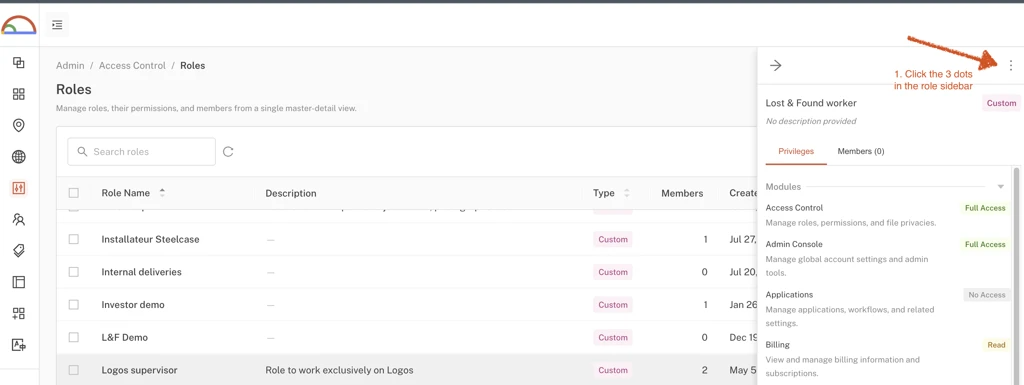
Go to Admin → Access Control → Roles. Click the role you want to add members to — its details open in a panel on the right.
In the role panel, click the ⋮ (three-dot) menu in the top-right corner.
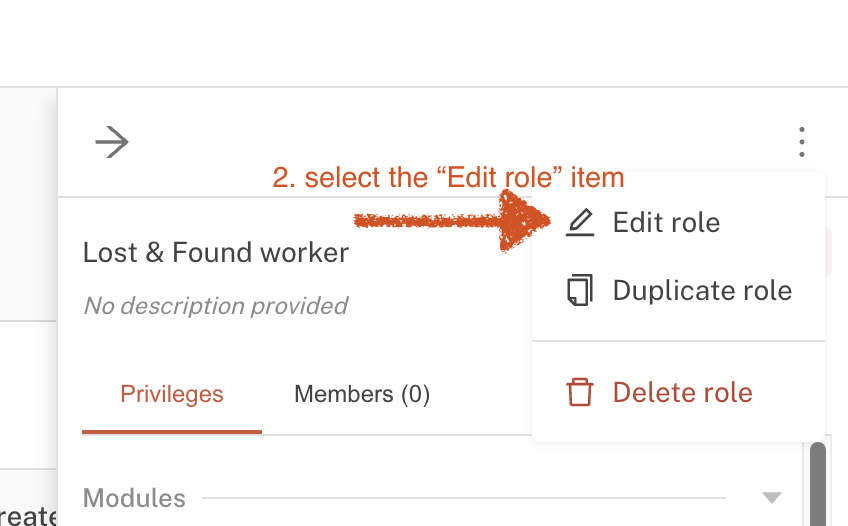
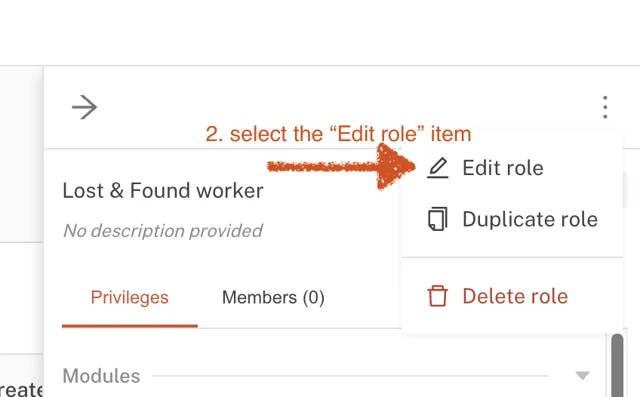
Step 2 — Select "Edit role"
From the menu, select Edit role. This opens the full role editor.
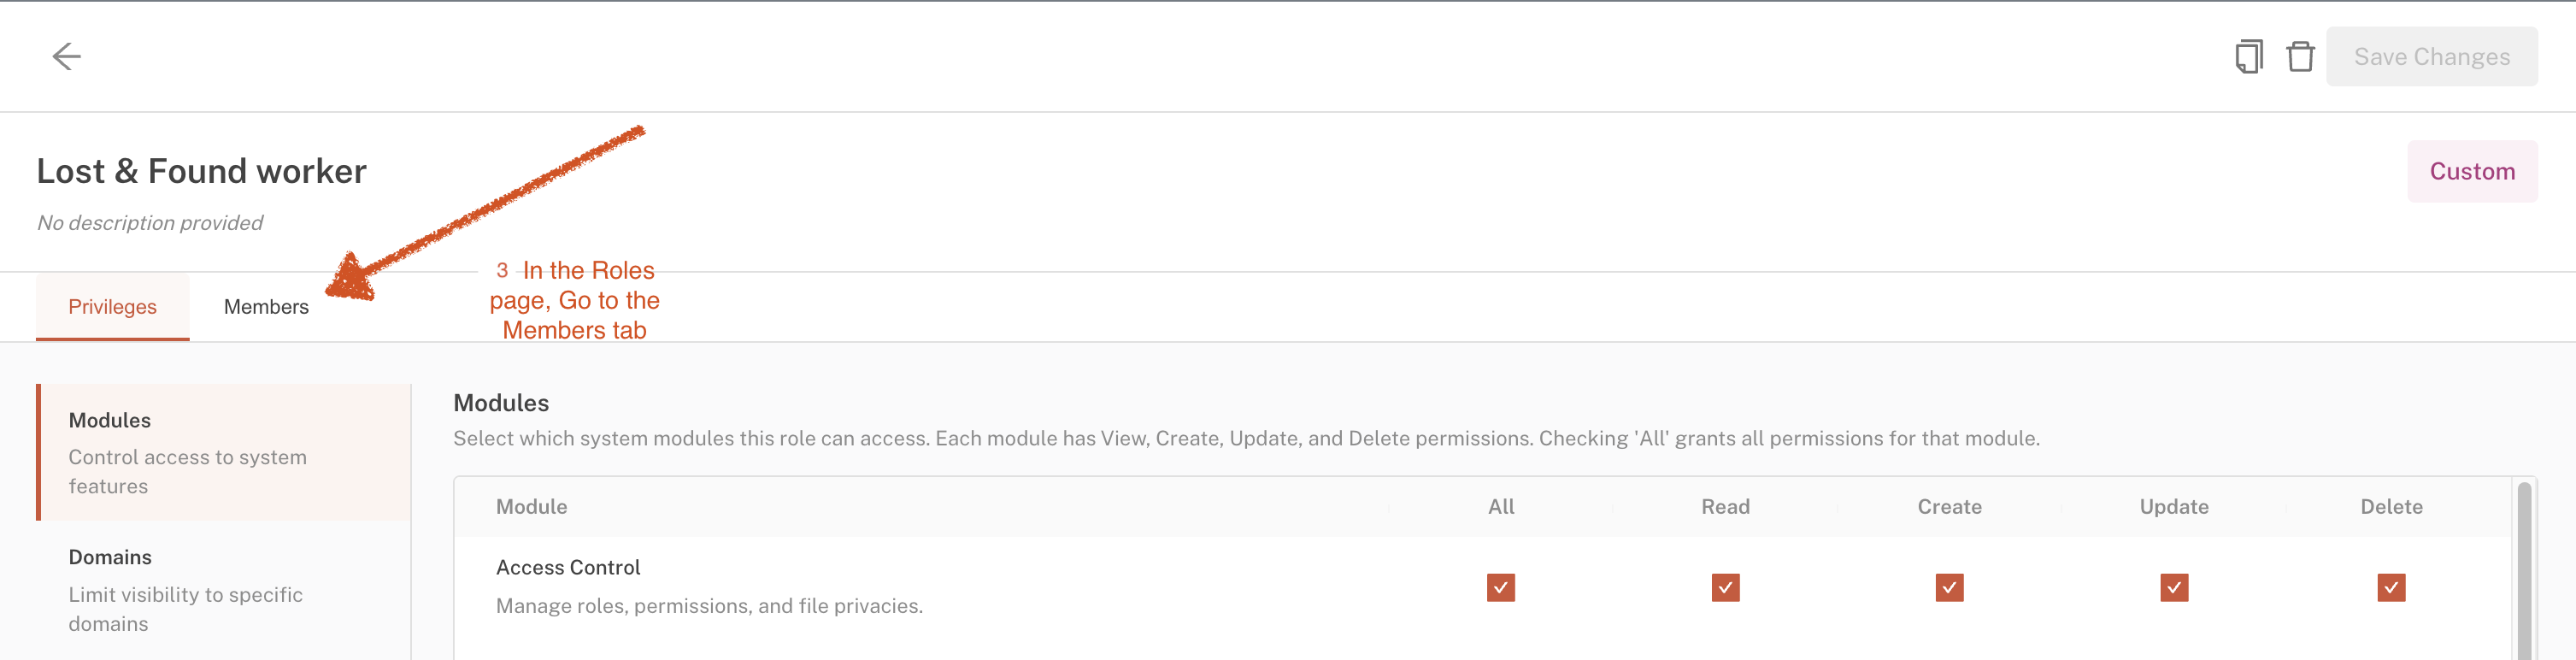
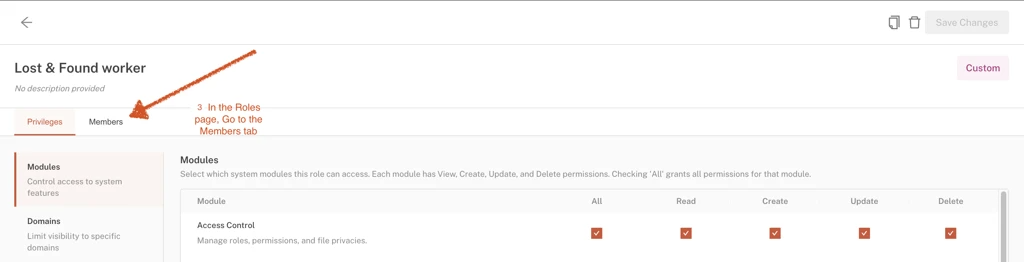
Step 3 — Go to the Members tab
The role editor opens on the Privileges tab, which shows what the role can access. Switch to the Members tab to manage who has this role.
Step 4 — Click "Add Members"
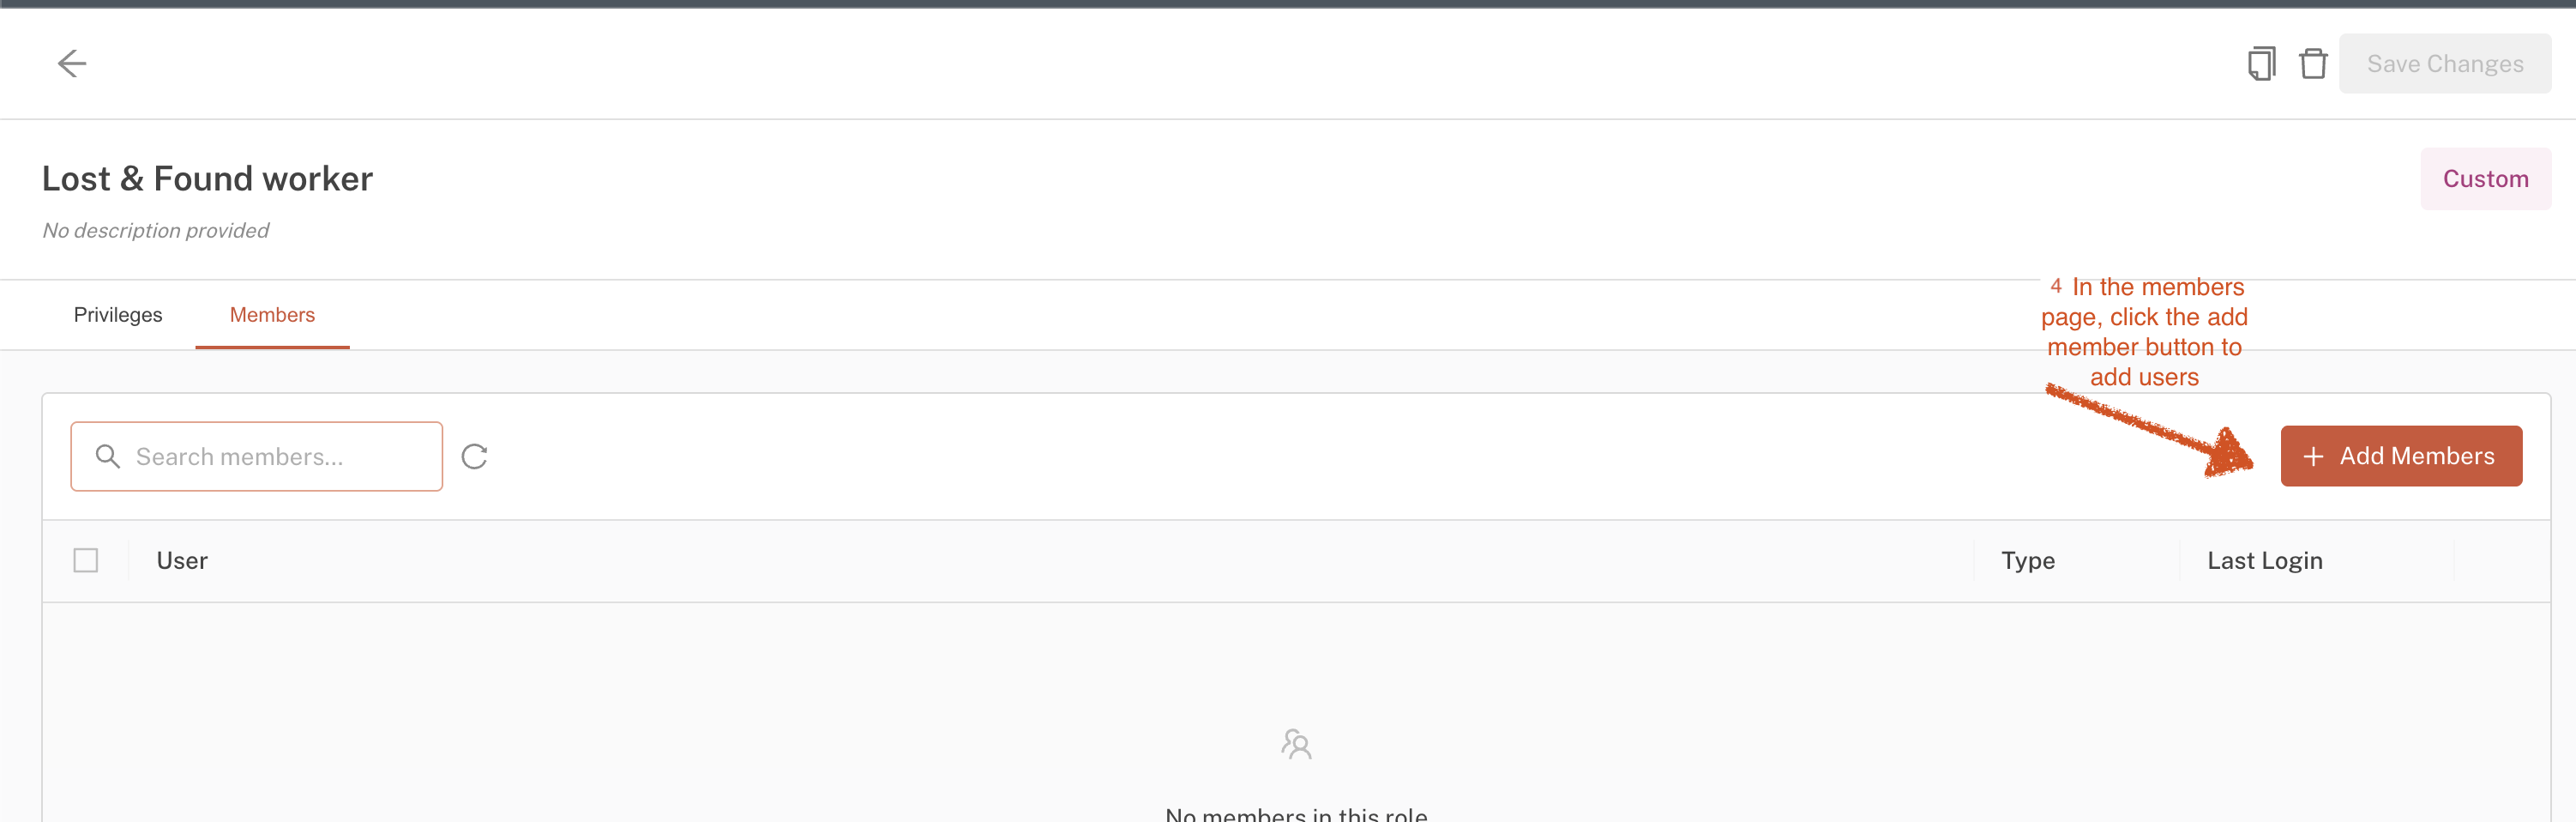
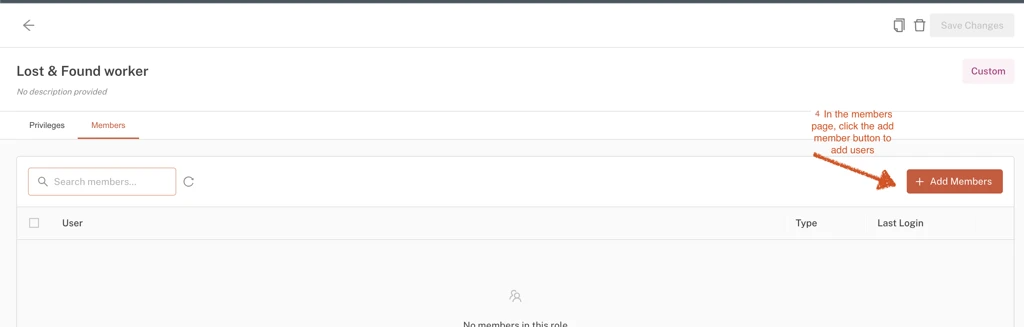
The Members tab lists everyone currently assigned to the role. Click the + Add Members button on the right.
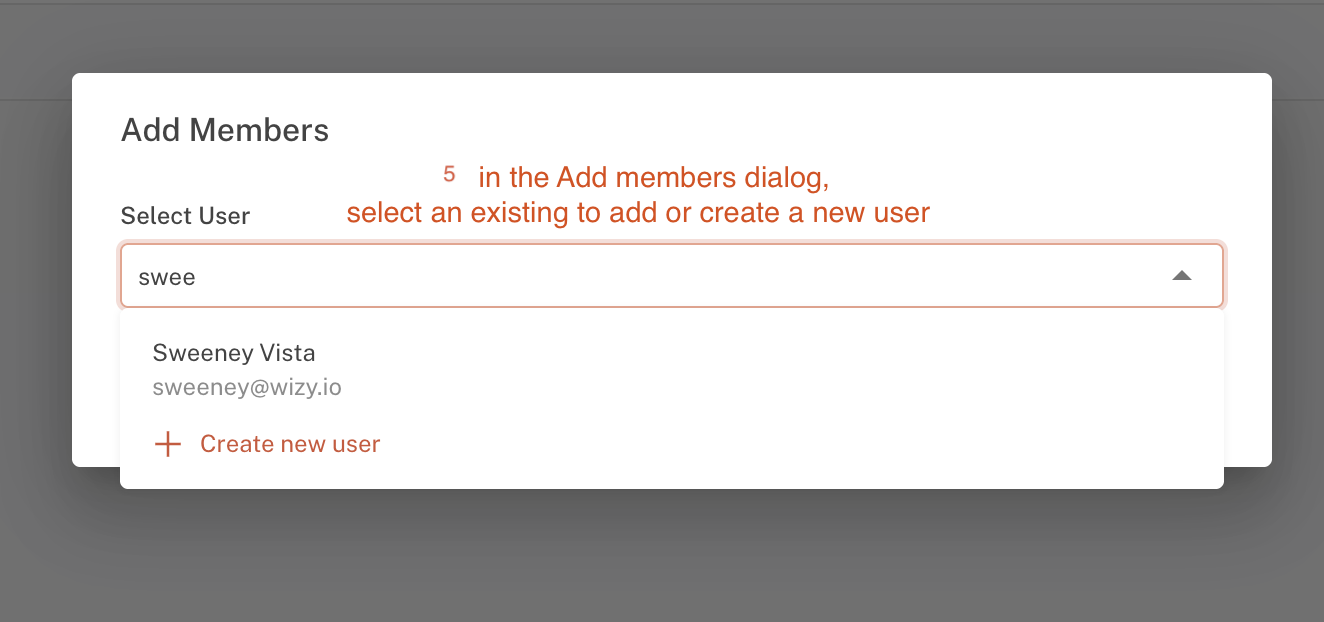
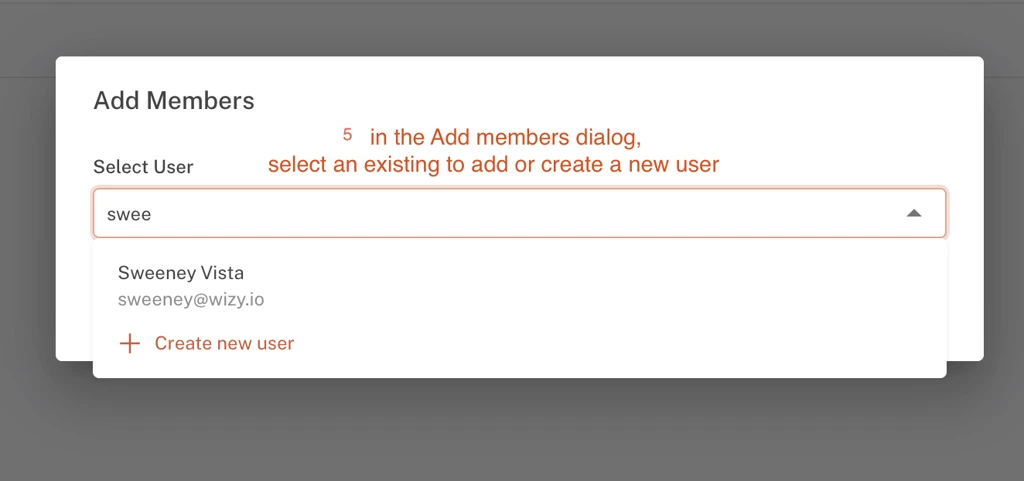
Step 5 — Select an existing user or create a new one
In the Add Members dialog, start typing a name or email in the Select User field.
To add an existing user: pick them from the search results.
To add someone who doesn't have an account yet: click + Create new user and continue to Step 6.
Step 6 — (New users only) Choose how they will sign in
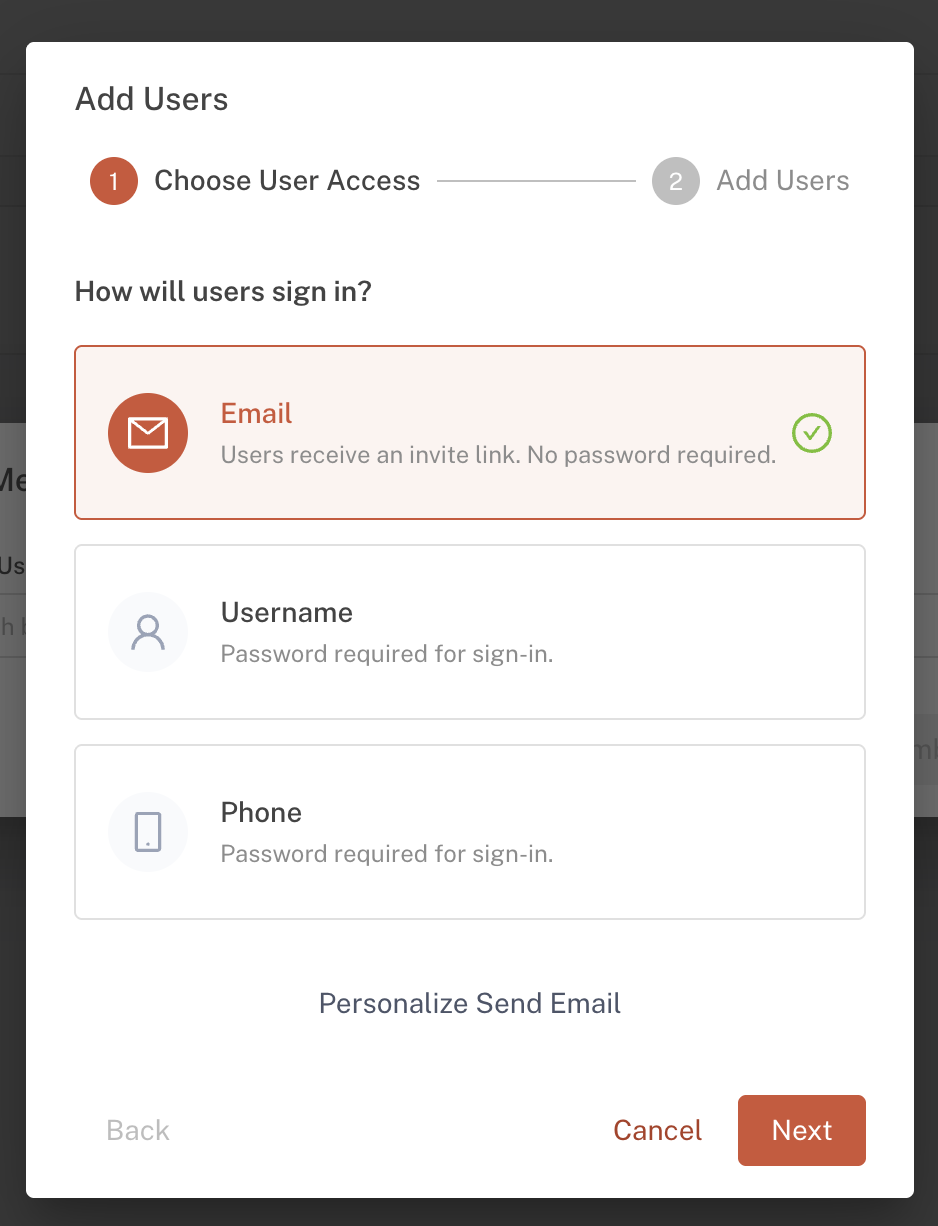
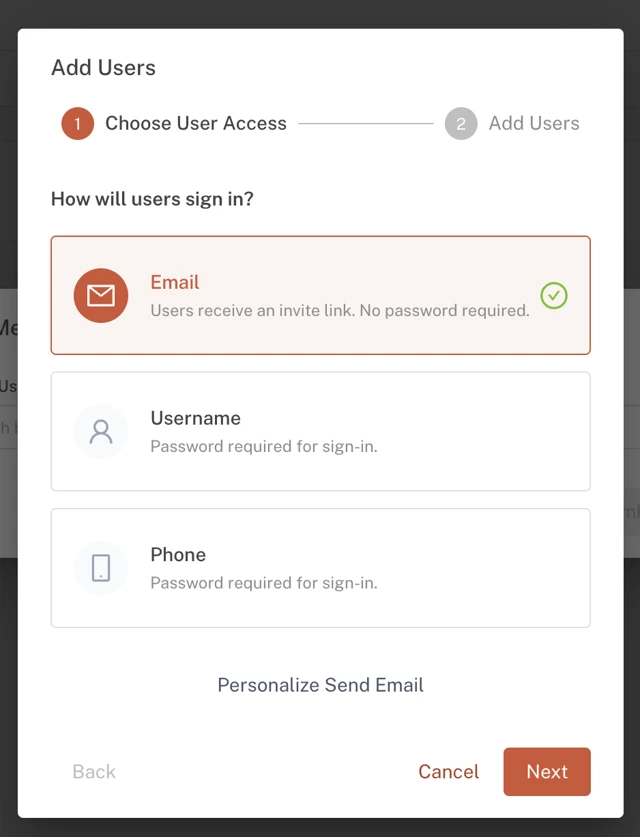
If you're creating a new user, the Add Users dialog asks how they will sign in:
Sign-in method | How it works |
|---|---|
The user receives an invite link by email. No password required. | |
Username | You set a username; the user signs in with a password. |
Phone | You set a phone number; the user signs in with a password. |
For most teams, Email is the simplest option — the user just clicks the invite link to get started. You can also select Personalize Send Email to customize the invitation message.
Choose a method, click Next, and fill in the new user's details.
Done!
The user now appears in the role's Members tab and immediately has all the privileges the role grants. New users invited by email will get access as soon as they accept their invitation.
Tips
A user's access comes from their role, so double-check the role's Privileges tab before adding members — everyone in the role gets the same permissions.
To remove someone from a role, return to the Members tab, select the user, and remove them.
You can search the Members list at any time to check whether someone is already in the role.
Was this article helpful?
That’s Great!
Thank you for your feedback
Sorry! We couldn't be helpful
Thank you for your feedback
Feedback sent
We appreciate your effort and will try to fix the article